The Game Plan:
Foam rolling has become a simple part of my recovery routine, whether I am leaving the gym or doing home recovery after a long day. I like it because this form of self-massage is easy to keep in a gym bag and use at home with a foam roller. From a practical point of view, it can be useful when you feel tightness or notice sensitive trigger points in different body parts, including the quads, hamstrings, calves, lower back, lats, shoulders, and IT band.
The basic foam roller usually has a cylindrical shape, although you can find different sizes and materials. When I use one, I think of it as a gentle way to work through areas that feel stiff rather than as a magic fix. The science around foam rolling suggests it may support blood flow and improve the elasticity of muscle tissue, joints, and fascia, which is the body’s connective tissue. That makes foam rolling a practical option for people who want a straightforward addition to their recovery routine.
What Is Foam Rolling?
Foam rolling is a simple form of self-myofascial release (SMR), sometimes described as a self-massage or DIY massage for your muscles and fascia, the body’s connective tissue. You use a foam roller, usually a cylindrical foam tool, to apply pressure to soft tissue, which can help ease tension and muscle soreness. In practice, I find the idea quite straightforward: you place the target area on the roller and slowly move over it to perform self-myofascial release while paying attention to how your body responds.
A typical roller is a cylinder or tube made from foam, but material construction, size, and shape can vary widely. Some resemble solid foam pool noodles, while others look like tractor tires fitted around brightly colored plastic wheels. A roller may feel hard and unforgiving, or softer and more comfortable, so pressure control matters. As the user, you control how much pressure you apply, making SMR easy to adjust to your comfort and experience level.
What Are the Types of Foam Rolling?
- Smooth rollers are a simple, beginner-friendly choice with a smooth surface that gives even pressure across the entire length.
- A smooth foam roller usually offers lighter pressure, is often less expensive, and works well for sensitive areas, soreness, recovery days, or a gentle release.
- Textured foam rollers use ridges, bumps, grooves, bumpy knobs, and wave-like ridges to provide deeper pressure and targeted pressure. They can feel more intense as they reach deeper layers of muscle and fascia, helping with tight knots and trigger points through a more concentrated myofascial release.
- Firm foam rollers are among the densest foam rollers, making them suitable for athletes who want quick recovery times and train hard, but greater firmness can increase discomfort, pain, and clenching.
I usually suggest starting with a lower-density roller and adjusting the amount of pressure before moving to a firmer option. Rollers designed to dig in include the Rumble Roller, whose knobs and crevices can concentrate intensity around multiple trigger points, especially in the shoulder area where tightness from computer work is common.
How to Use a Foam Roller For Your…
- Start with the foam roller on the floor and place your leg or legs on it. Slowly roll back and forth until you find a tender area. Apply gentle pressure to the spot for several seconds, then pause and let the area relax and release. For another tender spot, try repositioning the roller about two inches left, right, above, or below the original area. In my experience, slow movement works better than rushing, especially around the hamstrings, which are important areas when tight hamstrings contribute to pelvis, low back, tension, or stiffness.
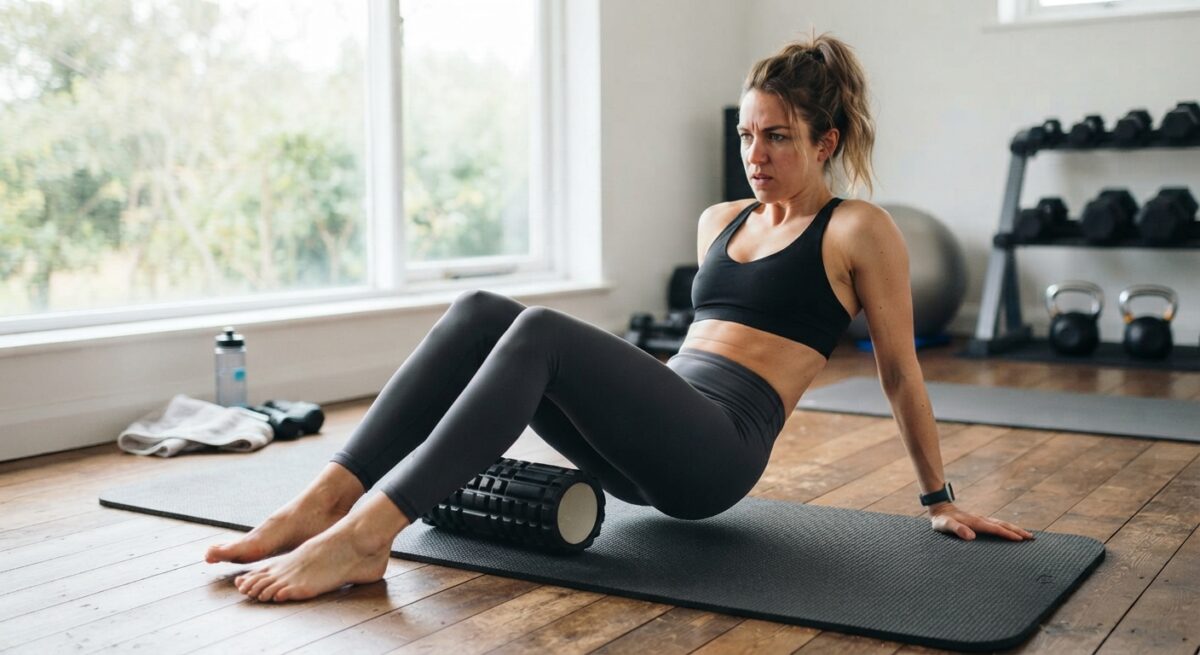
- Glutes: Sit on the roller with your hands on the ground for support. Bend your knees with your feet flat, place your right ankle over your left knee in a figure-four position, and shift your weight toward the right side to target the right glute. Slowly roll over the muscle for 30 seconds to 1 minute, then switch to the left side by changing the leg cross and leaning left.
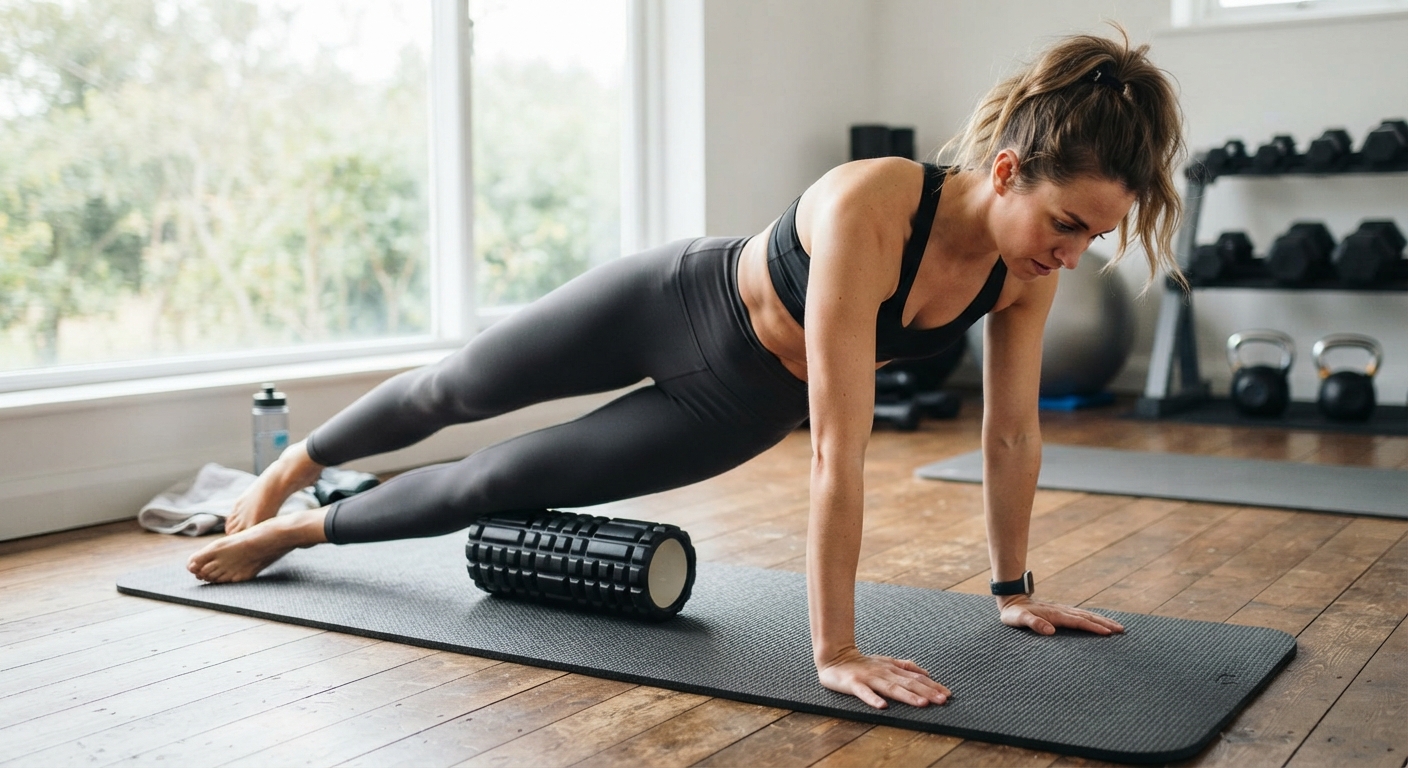
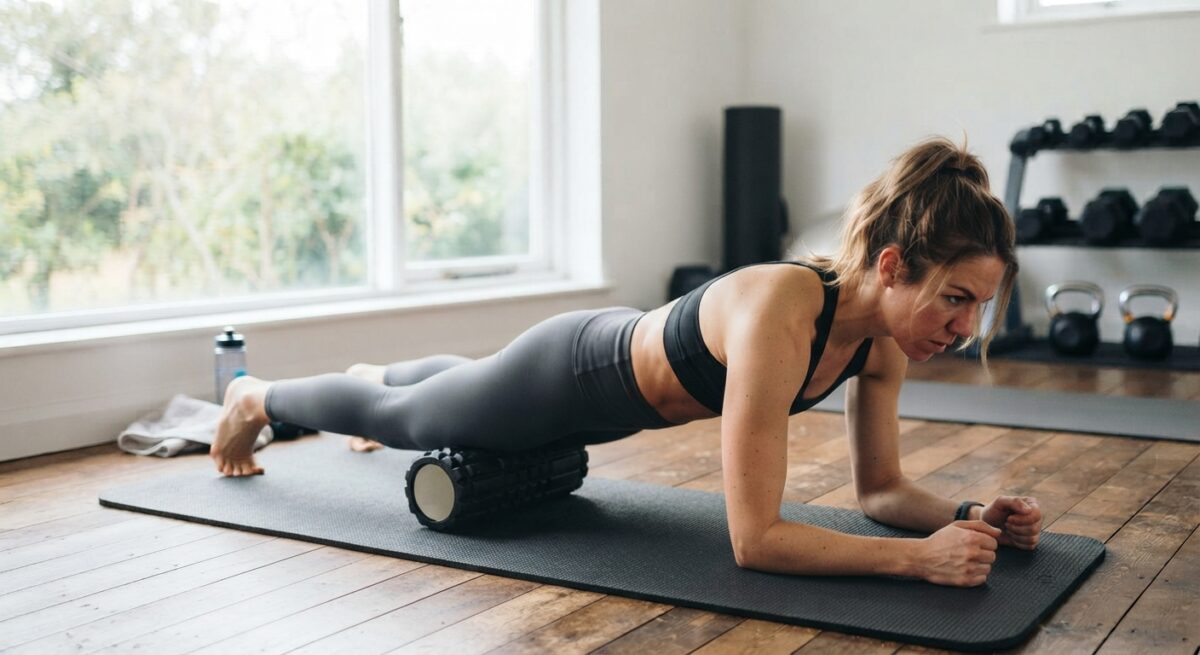
- Quads: Lie face down with the roller under your right thigh, just above the knee. Support yourself on your forearms, keep your core engaged, and place your left leg to the side for support. Roll from above the knee toward the hip, focusing on tight spots while you breathe deeply. Continue for 30 seconds to 1 minute, then switch to the left quad.
- Hamstrings: Sit on the floor with the roller under your right hamstring. Keep your hands behind you for balance, extend your right leg over the roller, and bend your left leg for support. Lift your hips slightly and roll from above the knee to below the glute for 30 seconds to 1 minute, focusing on tight areas, then switch sides.
- Calves: Sit with your legs extended and place the roller under your right calf. Keep your hands behind you to support your upper body. Cross your left leg over your right ankle if extra pressure is comfortable. Lift your hips slightly and roll from the ankle to just below the lower knee for 30 seconds to 1 minute, then switch to the left calf.
- Upper back: Lie on your back with the roller across your back just below the shoulder blades. Keep your legs in a bent position with feet flat, and interlock hands at the base of your head. Lightly brace your core to support your lower back, hold for 30 seconds, then extend the upper back over the roller. Move your hips toward your feet to shift the roller to a higher position. As it reaches the shoulder-blades, tuck your elbows in so the back muscles lengthen and allow more muscle contact. Keep the hips off the floor for more pressure, but avoid rolling over the lower spine.
- Shoulders: Lie on your side with the roller under your upper arm, just below the shoulder. Extend your arm forward or overhead for a deeper stretch, while your opposite arm supports you. Roll across the shoulder muscles for 30 seconds to 1 minute, focusing on sore spots, but avoid direct pressure on the shoulder joint. Switch sides.
- Lats: Lie on your side with the roller under your armpit and your arm extended overhead. Engage your core and slowly roll along the side of your torso, targeting the latissimus dorsi muscle. Move slowly to encourage muscle release, particularly after pulling or overhead movements, spending 30 seconds to 1 minute on each side.
- Chest: Lie on your back and turn your body to a 45-degree angle toward the focused side. Place the roller under the lat on that side and keep your focused arm extended over it. Keep the bottom leg straight with the foot pressing into the ground for stability, while the top leg crosses over. Shift your weight into the roller and roll from the armpit toward the mid-back, pausing on tender areas.
Foam Rolling Mistakes You Want To Avoid
- Rolling too fast can reduce the benefits of foam rolling because your muscles and tissues need time to relax. I prefer slow rolling and deliberate rolling, especially around tender spots, rather than rushing through the movement.
- Avoid excessive pressure. More pain does not mean better results, and too much intensity may cause bruising, muscle soreness, or discomfort. Start with a softer roller, and avoid rolling directly over bones, joints, or other hard structures; focus on soft tissue instead.
- Poor posture can create unnecessary strain on your body. Keep good form, engage your core, support your shoulders and lower back, and avoid slouching or collapsing onto the roller. When working near the IT band, remember that ITBS may involve imbalances elsewhere; working the primary muscles around it and a localized region can be more useful than aggressive sweeping motions over the thick band of tissue.
- Do not stay too long on knots or sore areas. Spending excessive time on one spot can increase bruising and irritation, so I usually keep the pressure controlled and move after a short period. Pay attention to your weight, using your foot on the floor to reduce body weight when needed.
- Never use poor technique on the lower back or directly over the spine. The spinal muscles may contract to protect the area, so stop around the ribcage instead. For lower back tension, a yoga pose such as a child’s pose, or gentle work on connected areas such as the piriformis and hip flexors, may be a better option; a personal trainer or physical therapist can also teach proper form.
Summary
Foam rolling is not a cure-all, but it can be a useful part of your recovery practices when paired with hydration, sleep, mobility training, saunas, cold water therapy, stretching, strength work, rest, and nutrition. I find the roller most useful during a warm-up or cooldown for temporary pain relief, better blood circulation, and relaxation, while self-massage may ease tension, pain, and tightness in muscles across the whole body.
It should not be expected to fix injuries or permanently change tissue structure, but some exercises may support range of motion and flexibility in the upper body and lower body. If you are new to it, a physiotherapist or doctor can help create a safe routine for your needs.
FAQ’s
Is foam rolling safe?
Usually, foam rolling is safe, but avoid it over an active injury, such as a bruise, strain, muscle tear, or bone fracture. Excessive pressure can also cause short-term pain, especially around tight areas or sore legs.
Why are my leg muscles sore after foam rolling?
Your leg muscles may feel sore if they were very tight or you used too much pressure too quickly. Foam rolling can also irritate a pre-existing leg injury, so reduce the intensity if discomfort continues.
Can I foam roll every day?
Many people can foam roll every day, but those with an injury or musculoskeletal condition should ask a physiotherapist or doctor for guidance on frequency, types, and exercises.
Should I foam roll before or after workouts?
Before training, it can wake up muscles, support blood flow, mobility, strength, and power, and may help explosive performance, including jump height and lower-body power in athletes. It can work well before a strength session or plyometric session as part of a pre-workout routine for an extra edge.
What does foam rolling do after training?
During a cooldown, it may ease tension and help you feel more relaxed after training. Pairing it with deep breathing and stretching can make the transition from a workout or long period of desk work more comfortable, although relief may be temporary.
Can foam rolling replace stretching?
Not completely. Foam rolling can reduce stiffness, improve tissue responsiveness, support movement quality, and act as a primer before dynamic stretches; after workouts, static stretching, hot and cold water therapy, and other recovery methods can help lengthen muscles and support the range of mobility. It may also influence fascia, tissue hydration, and the nervous system, rather than physically breaking fascia apart.